Showing posts with label frosting. Show all posts

Thursday, February 12, 2009

Lopsided with Love: Dark Chocolate V-day Cake

Valentine's day also happens to be my littlest sister's birthday. And while I no longer really enjoy the merchandising that accompanies this holiday, and rarely celebrate it, you can imagine my profound shock and horror at six years old when she emerged from the womb, hollering indignantly (she has been doing this ever since), on this special day. Where was our table full of chocolates and gifts? (Our parents could get pretty lavish back then.) Why, Julia was the present this year! And so it was for the rest of our childhood. We soon recovered, though, because Julia was a very cute baby.

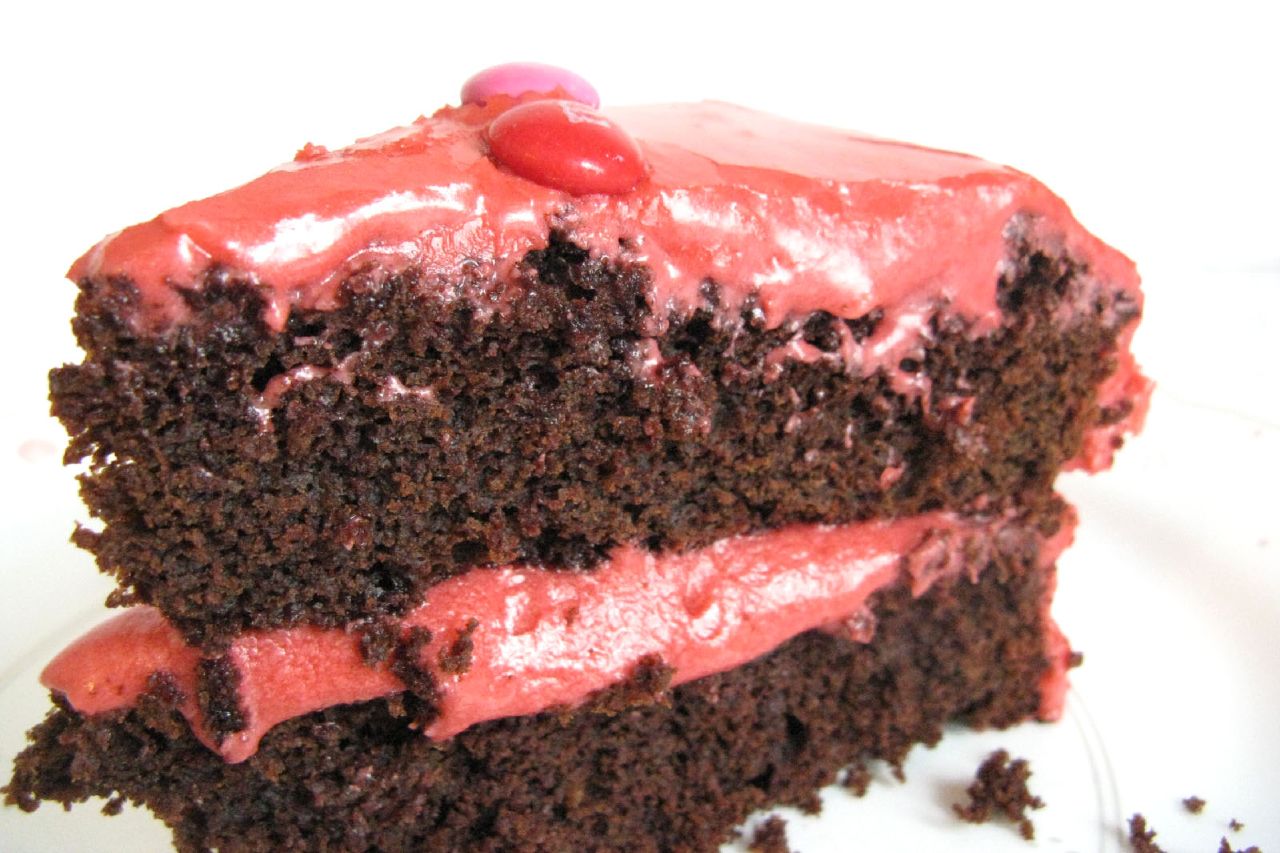
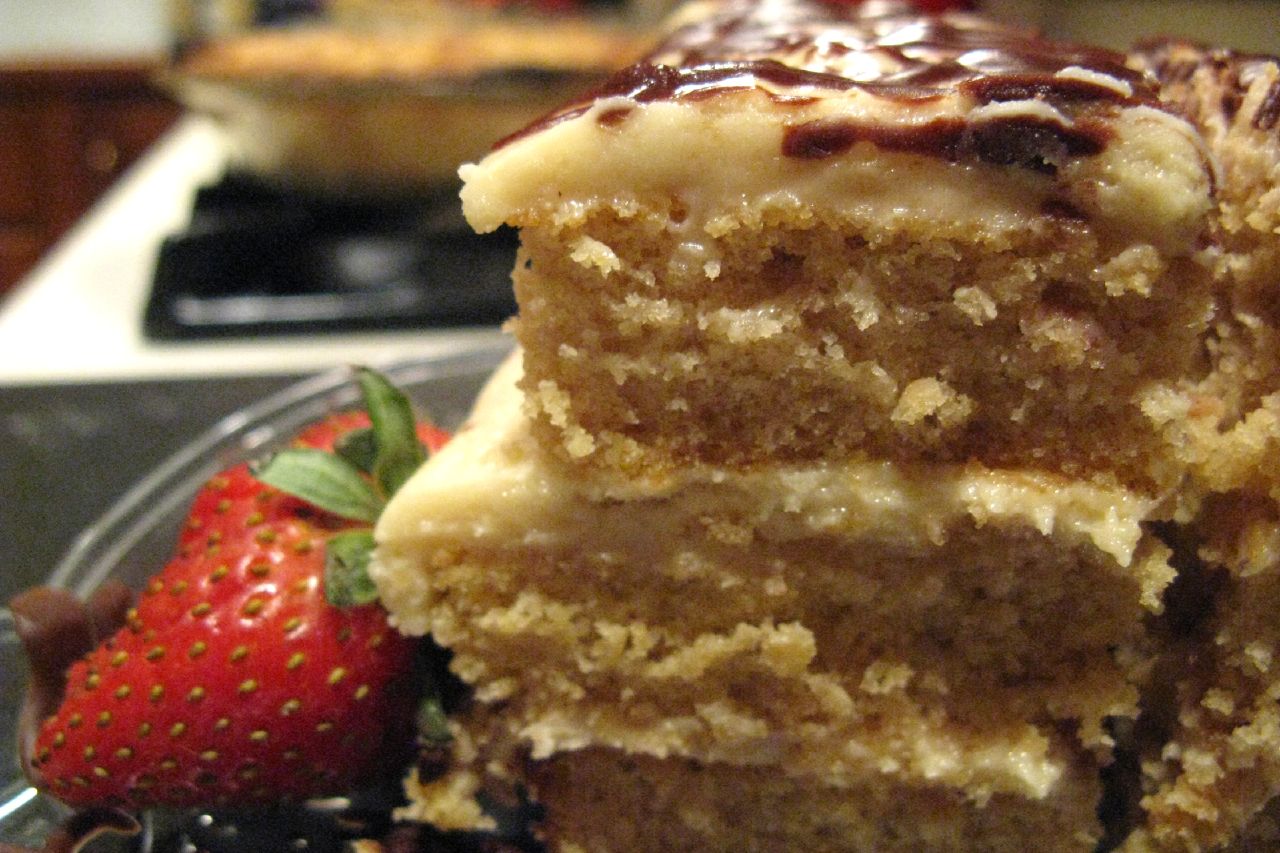
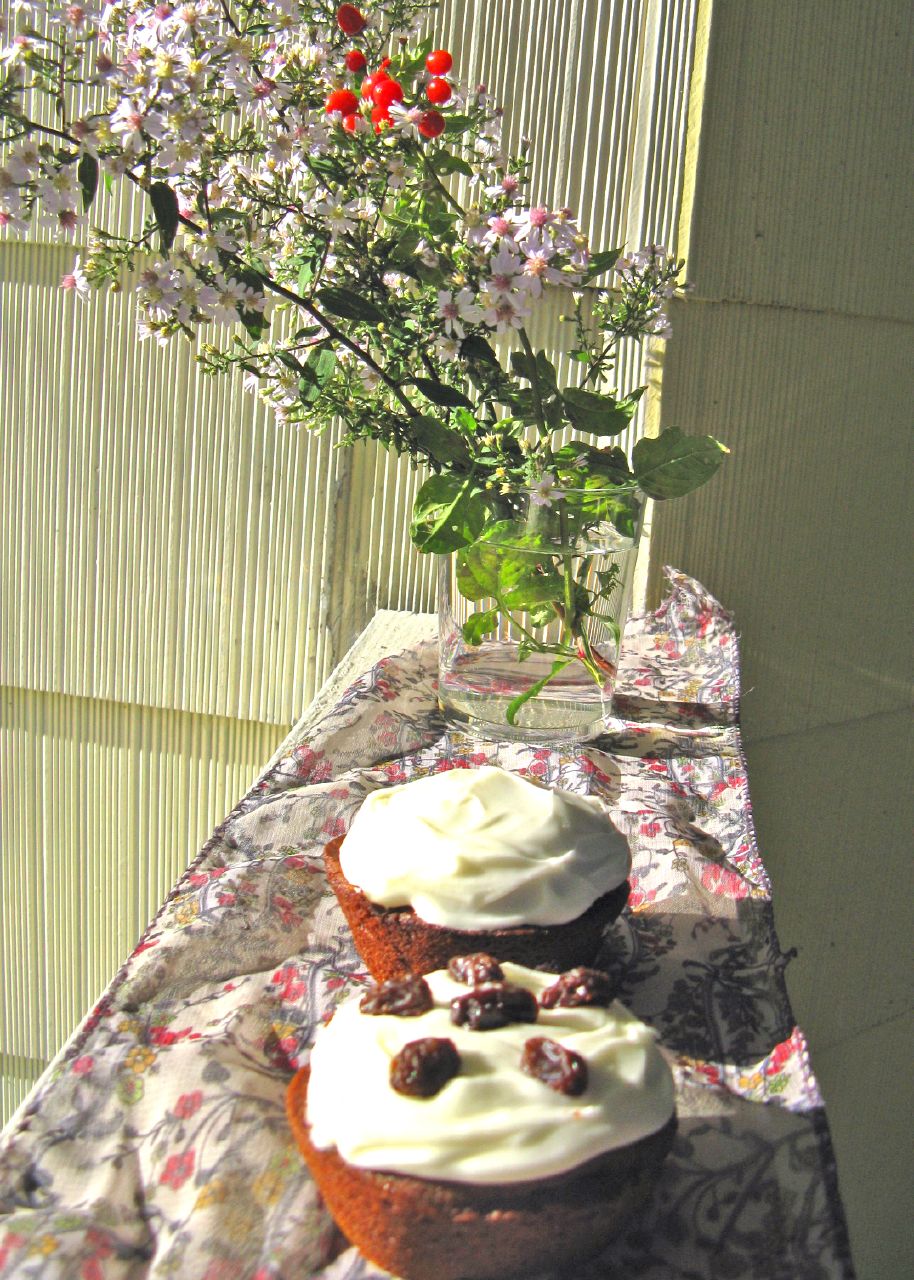
ANYWAY I have been dreaming about this cake for weeks. I mean, the concept of this cake. Dark, moist, simple cake. Sweet, shining icing. Pink against brown. It was an appropriate time of the year to be desirous of this combination. I made it a week in advance because I was so eager.

Dark Chocolate V-day Cake

3 oz. semisweet chocolate
1 cup milk
1 cup brown sugar
3 egg yolks
2 egg whites
1 1/2 cups flour
1/2 cup cocoa
1 tsp baking soda
1 tsp salt
1 cup sugar
1/2 cup butter, softened
1/4 cup water
1 tsp vanilla

1. Preheat the oven to 350 degrees.

2. In a saucepan, melt the chocolate (I used chips), 1 egg yolk, brown sugar, and 1/2 cup of the milk, over low heat. Allow to cool.

3. Combine sugar and butter in the bowl of an electric mixer.
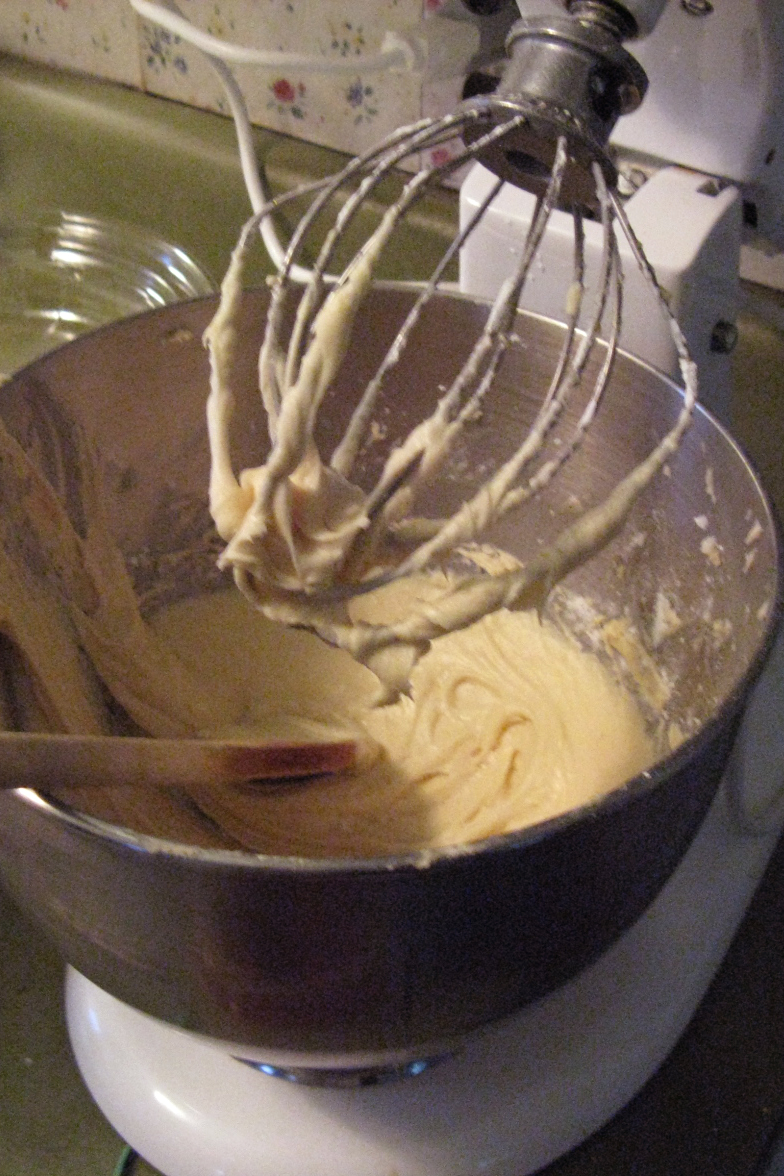
Mix until fluffy.

4. Add the remaining egg yolks, one at a time.

5. Add the cooled chocolate mixture.

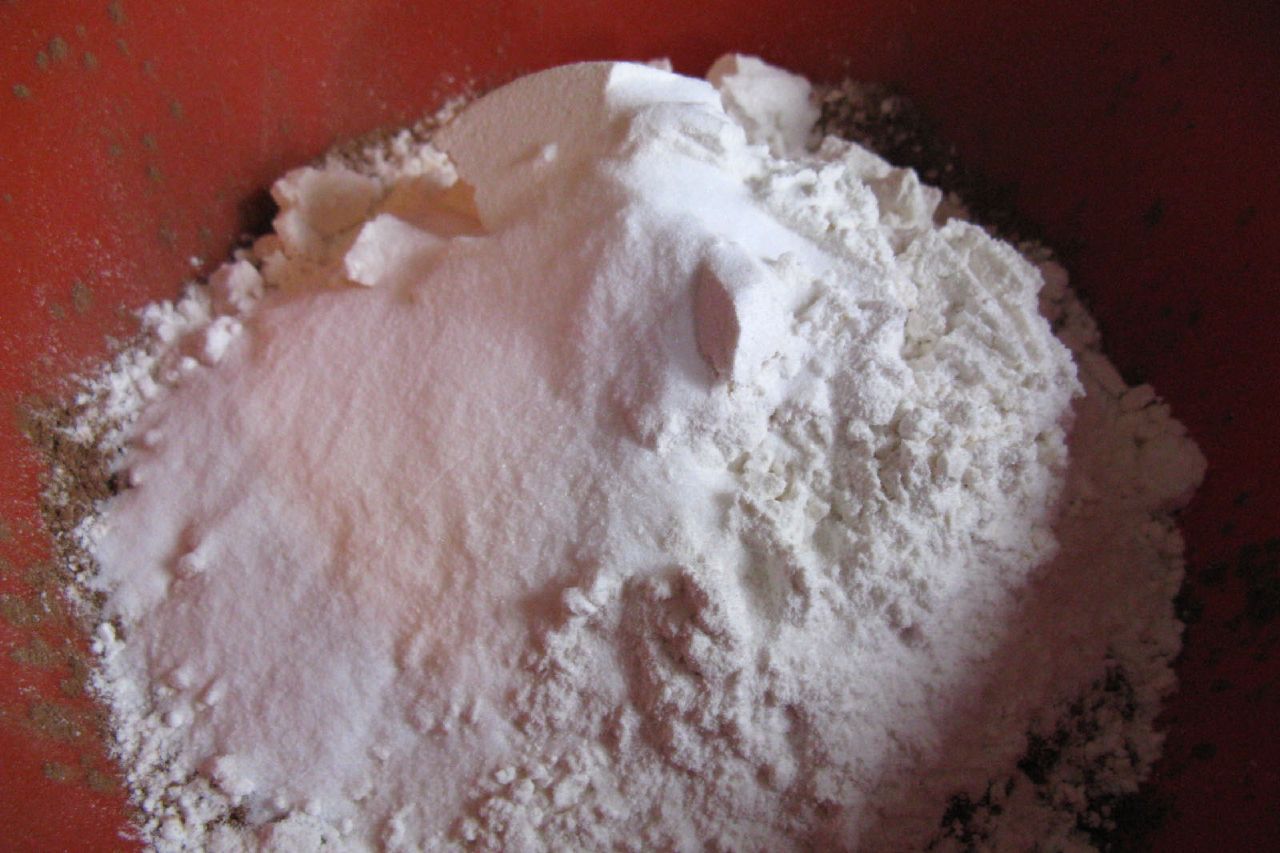
6. Combine dry ingredients (flour, cocoa, soda, and salt) in a separate bowl.

7. Combine water, the remaining milk, and vanilla.

8. Add this mixture to the mixer bowl, alternating with dry ingredients.

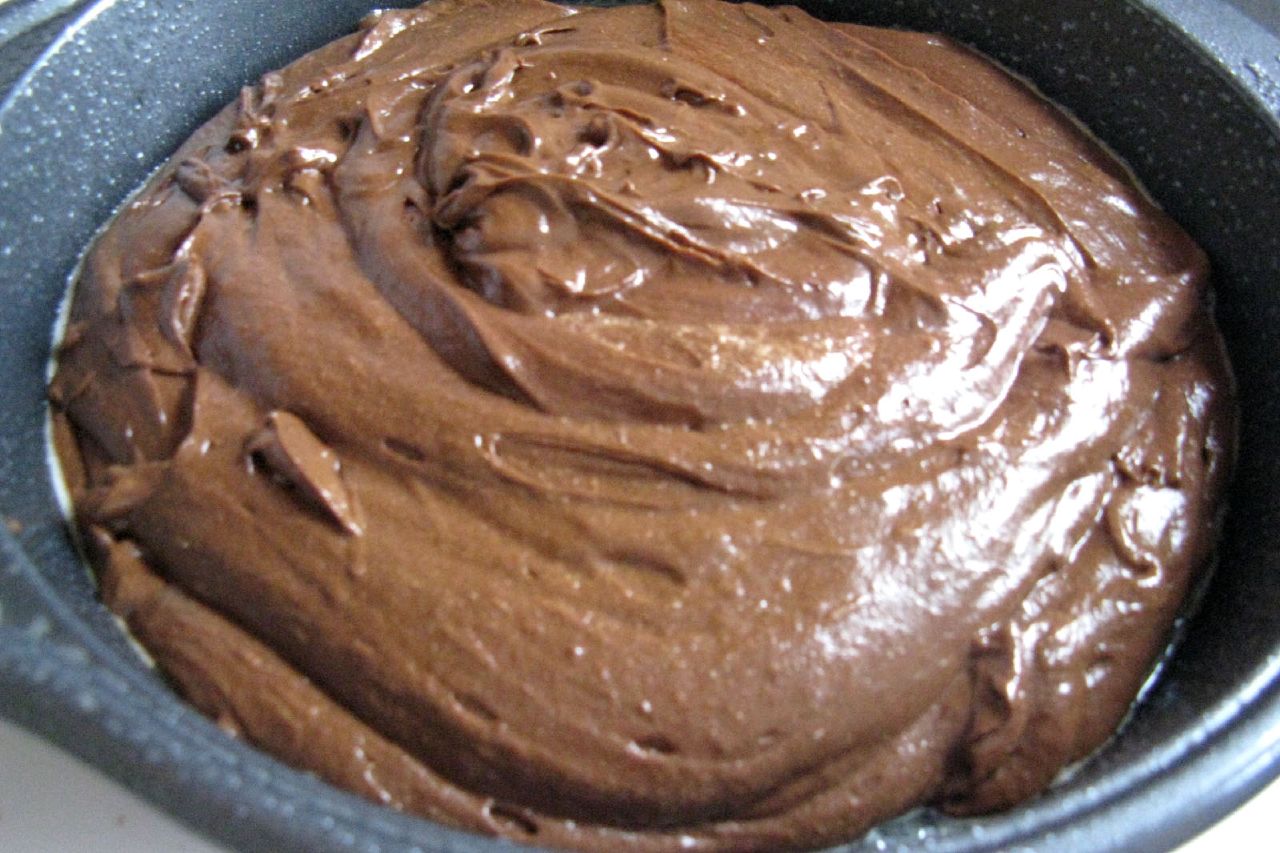
9. Beat the egg whites until stiff peaks are formed. Fold into the batter.

10. Place batter in two greased 8" round pans.

11. Bake for 20 - 30 minutes. Remove from oven and allow to cool.

Pinkish-Red Vanilla Icing

1/2 cup butter, softened
1 tsp vanilla
1 dash salt
1/4 cup milk (more if needed)
1 lb. powdered sugar
1 tube red gel food coloring, and one drop blue coloring

1. Beat butter, salt, and vanilla with the whisk attachment on an electric mixer.
2. Alternately add the sugar and the milk until icing is thick and smooth.
3. Squeeze that ENTIRE tube of food coloring (and a little bit of blue) into the frosting. What a lovely color!

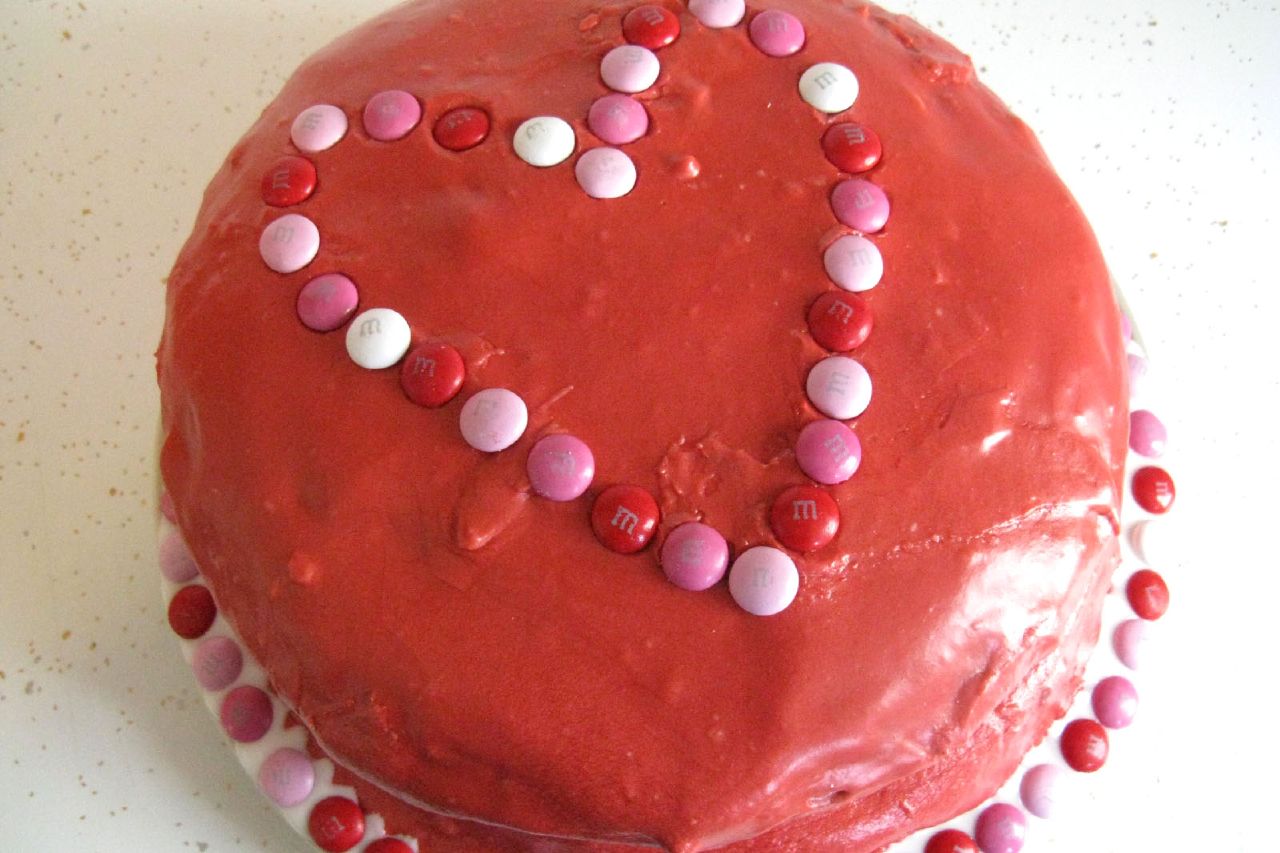
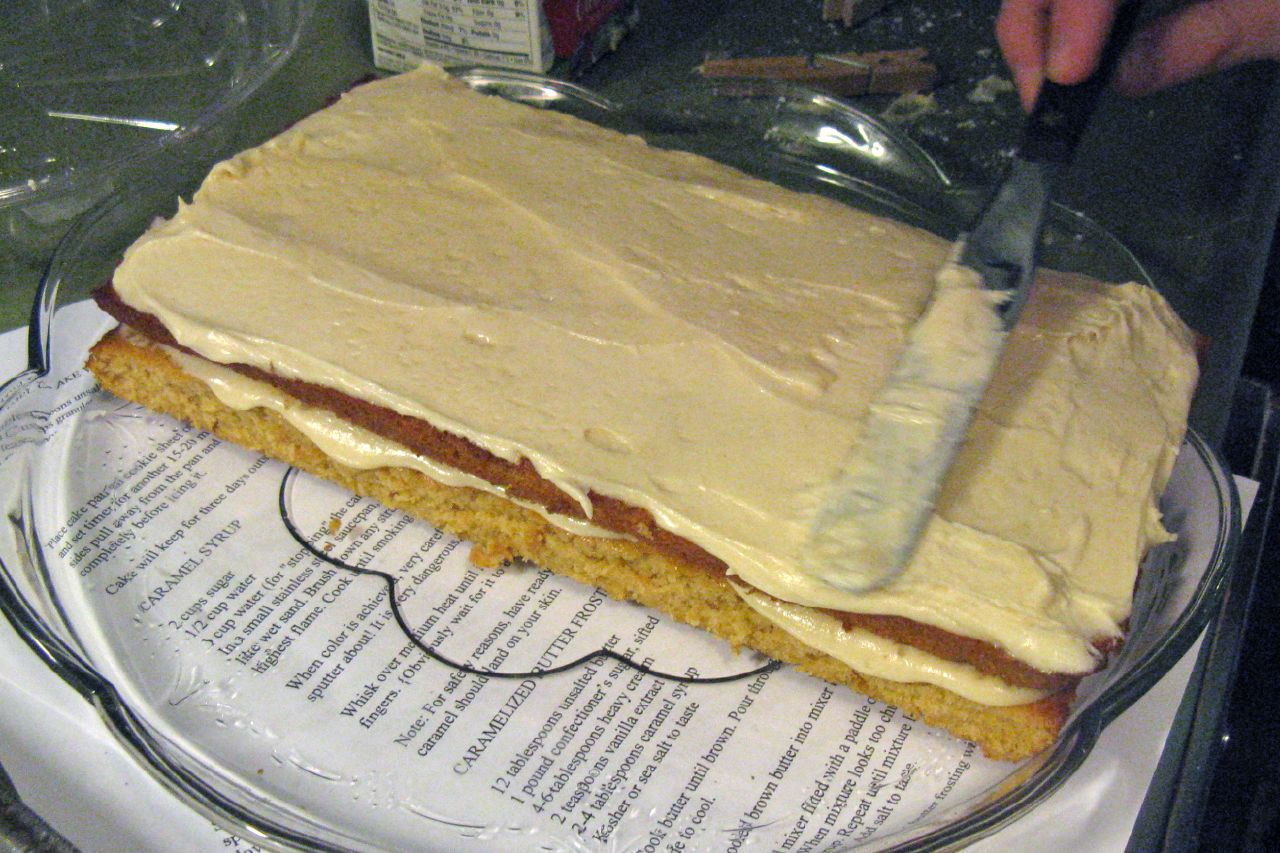
4. Cover your first layer with frosting, then add the second. Proceed to panic because it's a lopsided mess. Resign yourself to its imperfect beauty, after panic attack has subsided.

(Special thanks to my tolerant and helpful assistant/boyfriend).

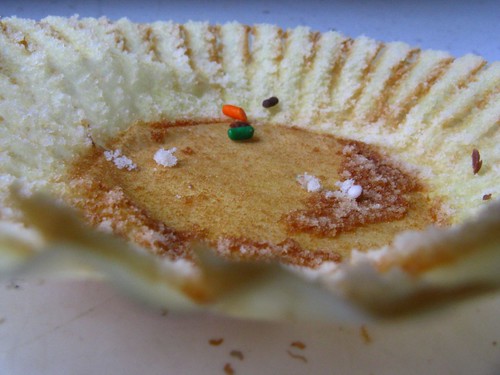
Hope your Valentine's day includes something as delicious as this cake!

Saturday, November 29, 2008

Daring Bakers: Caramel Cake with Caramelized Butter Frosting

I decided to prepare this month's Daring Bakers challenge while I was home for Thanksgiving break. This way, I had several more assistants, and many more mouths to feed!

While I enjoyed making and consuming this recipe, its richness demanded minuscule portions. I don't usually remark on a cake being too sweet, this one seriously meant business. If I were to make this another time, I might frost between the cake layers with a lighter, whipped cream icing, and cover it in the caramelized butter frosting, which was very intense (albeit in a good way).

This month's hosts include Dolores, Alex, Jenny, and gluten-free expert Natalie. The recipe comes from Shuna Fish Lydon at Eggbeater.

Caramel Cake

10 Tablespoons unsalted butter at room temperature
1 1/4 Cups granulated sugar
1/2 teaspoon kosher salt
1/3 Cup Caramel Syrup (see recipe below)
2 each eggs, at room temperature
splash vanilla extract
2 Cups all-purpose flour
1/2 teaspoon baking powder
1 cup milk, at room temperature

1.Preheat oven to 350F
2. Butter one tall (2 – 2.5 inch deep) 9-inch cake pan. (I used a 9 x 15 inch jelly roll pan)
3. In the bowl of a stand mixer fitted with a paddle attachment, cream butter until smooth. Add sugar and salt & cream until light and fluffy.
4. Slowly pour room temperature caramel syrup into bowl. Scrape down bowl and increase speed. Add eggs/vanilla extract a little at a time, mixing well after each addition. Scrape down bowl again, beat mixture until light and uniform.
5. Sift flour and baking powder.
6. Turn mixer to lowest speed, and add one third of the dry ingredients. When incorporated, add half of the milk, a little at a time. Add another third of the dry ingredients, then the other half of the milk and finish with the dry ingredients. {This is called the dry, wet, dry, wet, dry method in cake making. It is often employed when there is a high proportion of liquid in the batter.}
7. Take off mixer and by hand, use a spatula to do a few last folds, making sure batter is uniform. Turn batter into prepared cake pan.
8. Place cake pan on cookie sheet or 1/2 sheet pan. Set first timer for 30 minutes, rotate pan and set timer for another 15-20 minutes. Your own oven will set the pace. Bake until sides pull away from the pan and skewer inserted in middle comes out clean. Cool cake completely before icing it (In the jelly roll pan, this cake needed 20 - 25 minutes to bake).

Cake will keep for three days outside of the refrigerator.

Caramel Syrup

2 cups sugar
1/2 cup water
1 cup water (for "stopping" the caramelization process)

1. In a small stainless steel saucepan, with tall sides, mix water and sugar until mixture feels like wet sand. Brush down any stray sugar crystals with wet pastry brush. Turn on heat to highest flame. Cook until smoking slightly: dark amber.
2. When color is achieved, very carefully pour in one cup of water. Caramel will jump and sputter about! It is very dangerous, so have long sleeves on and be prepared to step back.
3. Whisk over medium heat until it has reduced slightly and feels sticky between two fingers. {Obviously wait for it to cool on a spoon before touching it.}

Note: For safety reasons, have ready a bowl of ice water to plunge your hands into if any caramel should land on your skin.

Caramelized Butter Frosting

12 tablespoons unsalted butter
1 pound confectioner’s sugar, sifted
4-6 tablespoons heavy cream
2 teaspoons vanilla extract
2-4 tablespoons caramel syrup
Kosher or sea salt to taste

1. Cook butter until brown. Pour through a fine meshed sieve into a heatproof bowl, set aside to cool.
2. Pour cooled brown butter into mixer bowl.
3. In a stand mixer fitted with a paddle or whisk attachment, add confectioner's sugar a little at a time. When mixture looks too chunky to take any more, add a bit of cream and or caramel syrup. Repeat until mixture looks smooth and all confectioner's sugar has been incorporated. Add salt to taste.

Note: Caramelized butter frosting will keep in fridge for up to a month.
To smooth out from cold, microwave a bit, then mix with paddle attachment until smooth and light.

For decoration, I drizzled the top of my cake with melted bittersweet chocolate.

Thanks, Daring Bakers, for another delicious recipe! Check the rest of the blogs out at http://daringbakersblogroll.blogspot.com/.

Wednesday, November 19, 2008

Basics Part II: Chocolate Cake

I have several recipes for chocolate cake filed away, some from family, others from blogs, still others I've created on my own, or adapted. I discovered this particular recipe when I was searching for a simple and easy way to make chocolate cake: no buttermilk, no beaten egg whites, and no difficult methods. I was living in an apartment I hated, with no electric mixer or quality measuring tools. My need for dessert was pressing. This cake saved me.

I originally baked this in an 8-inch square pan, and drizzled it with a simple glaze. Most of the pieces I cut went straight into the freezer. This, I reasoned, would prevent me from consuming the entire cake in one sitting. As it turns out (lamentably), this perfect concoction is also delicious frozen. I may have to fashion it into cakesicles one day soon.

Perfectly Simple Chocolate Cake

The recipe I give here is with sour cream chocolate frosting, as pictured.

1 cup flour (all purpose or whole wheat pastry)
1 cup sugar (white or turbinado)
1/4 cup butter or margarine (I use Earth Balance)
1/2 cup buttermilk
1/4 cup coffee (optional--if you omit the coffee, use 3/4 cup buttermilk)
1/2 teaspoon baking soda
1/2 teaspoon salt
1/2 teaspoon vanilla
1 egg
2 oz. unsweetened chocolate

1. Preheat oven to 350 degrees.
2. Melt the chocolate in a pan with the butter. Let cool.
3. Combine sugar, coffee, and buttermilk.
4. Add egg and vanilla, then chocolate mixture.
5. Sift the dry ingredients (flour, baking soda, and salt) together and add slowly.
6. Pour batter into greased 8" square pan and bake for 25 minutes, or until toothpick/knife inserted into center comes out clean

Chocolate Sour Cream Frosting

1/3 cup butter
3 oz. unsweetened chocolate
1/2 cup sour cream (TIP: I usually use fat-free for this, and find that it tastes just as good! This goes for most dairy--milk, yogurt, or sour cream--found in recipes.)
2 tsp. vanilla
2-3 cups powdered sugar

1. Melt butter and chocolate in saucepan over low heat. Allow mixture to cool.
2. Stir in sour cream and vanilla.
3. Slowly add powdered sugar, 1/2 cup at a time, and beat until frosting is smooth and spreadable.

Over at Method, my friend Ashley has made some gorgeous vegan Pain Au Chocolat (chocolate croissants) with one half of a big hunk of bittersweet chocolate we purchased this weekend. Check them out, and stay tuned for my own recipe (coming this weekend)!

Monday, September 22, 2008

Rise and Shine...


This is not a recipe for those unfathomable "morning people." I've been continually baffled by anyone who professes an affinity for a particular time of day. They all have their moments, certainly, but I find that a great morning or evening is something I'm never able to predict.

When I was in school, my family devised several methods for rousing each other on those dark winter mornings. I remember well being dragged brutally down the stairs by my younger sister, still feebly feigning sleep. And my mother occasionally skipped from room to room, switching on lights, singing: "rise and shine, and give me your glory, glory," a song which I believe she had modified to suit her secular purposes. I may also have lived through a phase of playing Marley's "Get up, Stand up" every single day. This was a trend generally regarded with malice.

Hey! The morning after I made these gingerbread cupcakes with Neufchâtel cheese icing, I woke up early (on a day off!) to photograph them! Cupcakes for breakfast (with apple tea) are exceedingly effective motivation.

As you can see, some of the cupcakes had raisins and apples mixed in. I kept about half plain for those with more discerning tastebuds, although CERTAIN (nine-year-old) people could only manage to lick off the frosting. I hope you never endure the agony that is throwing away your own homemade cupcake, sadly made bare by the caresses of a capricious tongue.

I also hope you never have to write that sentence.

Gingerbread (Apple Raisin) Cupcakes
(Makes 16-24 cupcakes, depending on additions)

1/2 cup brown sugar
1/2 cup butter
1 egg, beaten
1 cup molasses
2 1/2 cups whole wheat pastry flour (TIP: I know I always use this. I've discovered that it works well with baked goods that are darker in color and flavor, particularly spice cakes or ones that contain cinnamon. You won't see me [although I've definitely tried] using wheat flour in lighter recipes like yellow cake or sugar cookies. In these cupcakes, even the pickiest of eaters couldn't taste the whole grains, so go for it!)
1 1/2 tsp. baking soda
2 tsp. ground cinnamon
2 tsp. ground ginger
1 tsp. ground cloves
1 tsp. salt
1 cup warm milk

If you'd like to add apples/raisins:

2 apples, chopped
1 cup raisins

1. Preheat oven to 375 degrees.
2. Combine the dry ingredients (flour, baking soda, salt, and spices).
3. Add the butter in small pieces, and mix.
4. Add, one at a time: egg, molasses, brown sugar, and milk, beating after each addition.
5. If using apple and raisin, fold in.
6. Bake in greased or papered muffin tins for 10-15 minutes. These will bake fast, particularly if they're plain, so be sure to check! They are done when the outside is slightly darkened, and a knife or toothpick inserted in the center comes out clean.


Neufchâtel cheese icing:

1 package Neufchâtel cheese (TIP: You can substitute the familiar cream cheese here, but [American] Neufchâtel tastes similar, and is lower in fat and usually available at the same price.)
1 stick (1/2 cup) butter
1 tsp vanilla extract
2 tbsp milk
2-3 cups confectioners’ sugar

1. Whip butter and cheese together with a whisk (or the whisk attachment on your electric mixer).
2. Add milk and vanilla.
3. Add confectioner's sugar, 1/2 cup at a time, until you reach the desired consistency. Frosting should stand up in stiff peaks, but still be spreadable.
4. Frost and decorate cupcakes! (I used raisins. Chopped nuts would be nice!)


This cupcake entry is part of Sugar High Friday, hosted this month by Fanny, of foodbeam.

Wednesday, August 27, 2008

Basics Part I: Yellow Cake

For most of my life, I've turned my nose up at the idea of vanilla cake. Maybe I'd simply associated it with cake mixes, with the infinite parade of brightly frosted birthday sheet cake monstrosities of my youth. And, as a chocoholic born and raised, I'm of the opinion that there is NEVER a superior alternative to chocolate.

However, I do occasionally accept requests from one of my innumerable admirers, and recently I baked a "confetti" cake, using this Yellow Sheet Cake recipe from Baking Bites, and mixing in a cup of sprinkles before baking. The cake itself was divine; the buttercream icing I attempted, not so much.

And so, true to form, I hastily made the cake again, this time in the form of cupcakes, and added--what else?--chocolate.


The most interesting thing about this cake recipe is the method in which it is mixed. From Baking Bites:

"Beating the butter into the dry ingredients gives the finished cake a beautiful and tender crumb, inhibiting gluten development by creating a protective coating of fat around the flour. Beating the flour/butter mixture with some of the eggs gives the remaining gluten a chance to develop and incorporate air into the cake."

This is by far the lightest, fluffiest cake I have ever made without buttermilk. It has become my designated, go-to vanilla cake recipe.


Yellow Sheet Cake recipe from Baking Bites. I adapted this only in that I made two 8-inch round cakes, or 24 cupcakes, as opposed to one 9 x 13 cake.

Simple Chocolate Frosting

2 (1 ounce) squares unsweetened baking chocolate
1/2 cup butter
6 tablespoons milk
3 cups confectioners' sugar
1/2 cup cocoa
1 teaspoon vanilla extract

1. In a saucepan, melt the butter and baking chocolate. Let cool.
2. Combine with milk, vanilla, and cocoa in an electric mixer (a handheld one is fine, as well).
3. Add confectioners' sugar (1/2 cup at a time).

TIP: You may need to adjust the amount of sugar or milk. The frosting should be spreadable but hold its shape easily when applied.


PS: I have been on vacation these past couple of weeks. I hope to post once a week from now on!